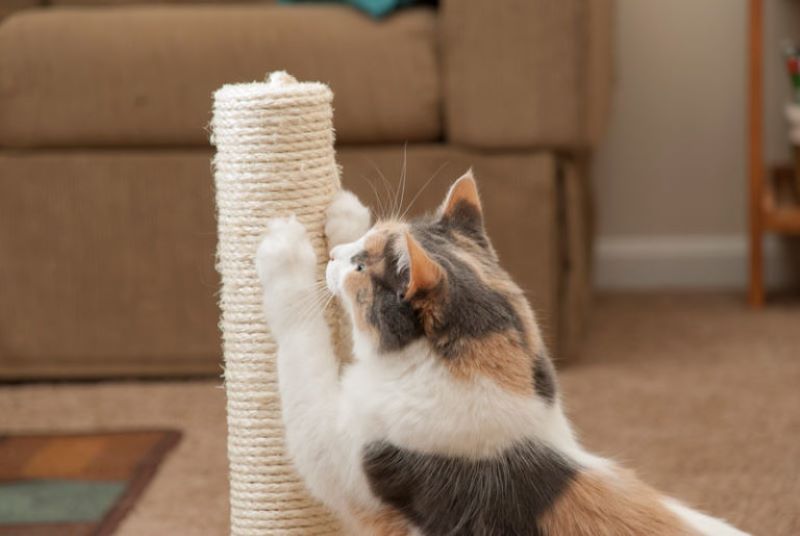
Building your own cat scratching post is a rewarding project that not only saves money but also allows you to customize the design to fit your home and meet your cat’s specific needs. Whether you’re an experienced DIY enthusiast or a beginner looking for a fun weekend project, latest guide will walk you through the steps to create a durable, attractive scratching post that your cat will love.
Materials You’ll Need
Before you start, gather the following materials:
- Base Material: A sturdy piece of plywood or MDF, at least 18×18 inches, will serve as the base. This ensures stability so the scratching post doesn’t tip over.
- Post Material: A wooden post, typically 4×4 inches, and about 24-36 inches tall, is ideal. The height can be adjusted based on your cat’s size and preference.
- Carpet or Sisal Rope: Sisal rope is a popular choice for wrapping the post, as it’s durable and appealing to cats. Alternatively, you can use carpet scraps.
- Fabric for the Base: To cover the base, you’ll need a piece of fabric or carpet large enough to wrap around the plywood.
- Screws and Nails: To attach the post to the base and secure the coverings.
- Staple Gun: For securing fabric or carpet to the base.
- Glue: Heavy-duty adhesive for securing the sisal rope to the post.
- Optional Toys: You can attach toys or dangling objects to make the scratching post even more enticing.
Step-by-Step Instructions
Step 1: Prepare the Base
Start by preparing the base of your scratching post. The base needs to be heavy and stable to prevent the post from tipping over when your cat uses it.
- Cut the Base: If necessary, cut the plywood or MDF to your desired size. A square base measuring 18×18 inches is usually sufficient, but you can go larger if you want more stability.
- Cover the Base: Lay your fabric or carpet on a flat surface, place the base on top, and wrap the fabric around it. Use a staple gun to secure the fabric tightly around the edges of the base. Make sure the fabric is smooth and free of wrinkles.
Step 2: Attach the Post
Now that the base is ready, it’s time to attach the post.
- Position the Post: Center the wooden post on the base. Mark the location where you will screw the post into the base.
- Drill Holes: Pre-drill holes through the base and into the bottom of the post. This step helps prevent the wood from splitting when you attach the screws.
- Attach the Post: Use long screws to secure the post to the base. Make sure the post is firmly attached and doesn’t wobble.
Step 3: Wrap the Post with Sisal Rope or Carpet
This step is where you’ll create the scratching surface that your cat will use.
- Apply Glue: Start at the bottom of the post and apply a strip of heavy-duty adhesive around the base.
- Wrap the Rope/Carpet: Begin wrapping the sisal rope or carpet tightly around the post. Ensure each loop of rope is pressed firmly against the one below it to avoid gaps. If using carpet, wrap it around the post and secure it with staples or glue.
- Secure the End: Once you’ve wrapped the entire post, secure the end of the rope with glue and a few staples to prevent it from unraveling.
Step 4: Add Finishing Touches
Once the post is wrapped, you can add any finishing touches to make it more appealing to your cat.
- Attach Toys: If you’d like, attach a toy to the top or side of the post. A dangling feather or ball can make the post more fun for your cat.
- Test for Stability: Give the post a gentle shake to ensure it’s stable and secure. The post should not tip over or wobble.
Step 5: Introduce Your Cat to the New Scratching Post
Place the scratching post in a location where your cat likes to scratch, such as near their favorite sleeping spot or by a window.
- Encourage Use: If your cat is hesitant to use the new post, encourage them by sprinkling catnip on it or placing treats near the base. Some cats may need time to adjust, so be patient.
- Monitor and Maintain: Over time, check the scratching post for wear and tear. Replace the sisal rope or carpet if it becomes too worn. Regular maintenance ensures the post remains a favorite spot for your cat.
Benefits of a DIY Scratching Post
Building your own cat scratching post has several benefits:
- Cost-Effective: Commercial scratching posts can be expensive, especially if you’re looking for something sturdy. Building your own can save money while allowing for customization.
- Customization: You can tailor the size, color, and materials to match your home décor and your cat’s preferences.
- Durability: By choosing quality materials, you can create a scratching post that lasts longer than many store-bought options.
- Satisfaction: There’s a sense of accomplishment in creating something useful for your pet with your own hands.
Creating a DIY cat scratching post is a practical and enjoyable project that benefits both you and your feline friend. By following these simple steps, you can build a sturdy, attractive scratching post that satisfies your cat’s natural instincts and helps protect your furniture. Not only will your cat appreciate the new addition to their environment, but you’ll also enjoy the satisfaction of knowing you made it yourself.


Leave a comment