You are getting really sick of the wallpaper in your home, and you would love to get rid of it. A new well-designed wall, like a new painted wall, may be what you truly want. But there’s no way you are about to go through the tedious, labor-intensive (and sometimes wall-damaging) process of removing all of the wallpaper to get the freshly painted walls you really want. Luckily for you, you don’t have to. As long as your wallpaper is attached to the wall securely, and it’s not falling apart already, you can easily cover it up. So gather up your materials, get busy and before long you’ll be enjoying the painted wall you never thought possible.
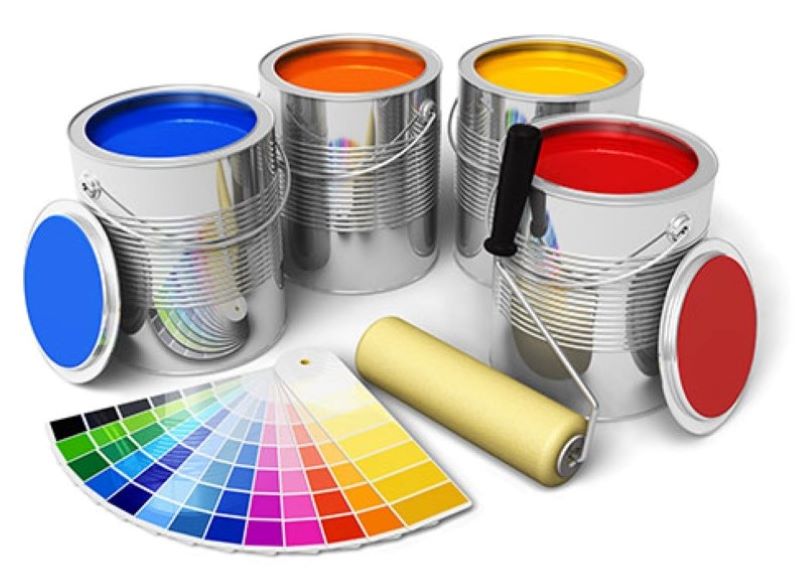
Must-have materials
Before you get started, you will want to make sure you have everything you need:
- Safety glasses
- Screwdriver (for switch plates)
- Hammer (if there are nails in the wall)
- TSP cleaner
- Washcloth
- Drop cloth
- Primer (make sure it’s shellac or oil-based)
- Masking tape (or painter’s tape)
- Sandpaper
- Utility knife
- Drywall joint compound (sometimes called drywall mud)
- Drywall knife
- Caulk
- Paint (oil-based)
- Brushes/roller (including any trays you might want)

Step 1: prepare the surface
As with any successful paint job, you can’t rush into painting over your wallpaper. You will only achieve long-lasting results if you invest some time into the preparation process. Make sure you do all of the following:
- Look over the entire surface and check for loose wallpaper. If you see any, simply cut it off with the utility knife.
- Take out any nails that may be remaining and remove the switch plates.
- Clean the surface thoroughly, because dirt will get in the way of perfection. TSP (tri-sodium phosphate) works amazingly to remove the grime from wallpaper, but any cleaner will suffice.
- Wipe the area with a damp washcloth to make sure there is no cleanser film on the surface, and then wait for it to air dry completely.
- Lay down a drop cloth to protect the floor and any furnishings that are in the room. You might want to tape it down to ensure it stays put.
- Open any windows or doors to allow for proper ventilation.
- Put on your safety glasses.
Step 2: put on the primer
Now it’s time to cover the wall with primer, but not just any primer will do. You need one that is shellac or oil-based because a water-based one might cause the wallpaper to bubble up and fall off over time. Not only that, but primers made out of oil or shellac offer a stronger bond and a quicker dry time.
Step 3: make the surface smooth
Once the primer has dried, any uneven areas of the wall will be evident. Use the drywall joint compound and drywall knife to patch up these areas. You will also want to apply some to any wallpaper seams. Allow it to dry, and then sand it down so that you have a smooth wall to work with. (Hint: The crevice tool of a Shop Vac works great to remove any dust leftover on the wall when the sanding is finished.)
Step 4: finish the prep
It’s almost time to paint, but first you need to put another coat of primer over any of the areas where you use the drywall joint compound. You will also want to caulk the edges of the wall (even at the ceiling line) to give the wallpaper an extra seal. Once that dries completely, it’s time to put the masking tape around the edges and on any windowsills to make sure you don’t accidentally get paint where you don’t want it.
Step 5: paint away
Now you can finally add the color to your wall, but you can’t just choose any paint you want. Oil-based paint is a must for painting over wallpaper. If you opt for a latex paint instead, the wallpaper below it may become loose, which you certainly don’t want. It’s also a smart idea to select a matte paint color since the high-sheen ones will highlight any remaining imperfections.
Begin by using a brush to paint a 6-inch (approximately) border around the walls. After that, you can use the roller without having to worry so much about painting out of the lines. Let the first coat dry completely (overnight works best) before applying the second coat.
Step 6: finish up
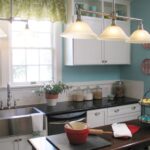
Once the second coat is dry, it’s time to clean up. Rinse any used paintbrushes and trays (it’s a lot easier while they are still wet), carefully remove the masking tape, pick up the drop cloth and screw in the switch plates. You are finished! See, that wasn’t so hard. Now you have a beautiful, perfectly painted wall that you can enjoy for many years to come.


